Are you looking to fix your uneven driveway or patio? This article dives straight into the practical steps to take your paving from sunken to seamless. You will learn how to identify areas that need work, prepare the ground, lay a stable sand base, and apply finishing touches that ensure durability. Get ready to tackle this project with confidence!
Paving SA are the best paving contractors Adelaide has to offer! Speak to us to schedule a free quote for paving repairs and restorations in Adelaide, South Australia!
Key Takeaways
- Identify uneven sections or pooling water on your brick paving as signs it needs relaying, and plan your work area using materials like chalk or string, checking for underlying issues.
- Gather essential tools like a rubber mallet, chisel, and screeding board, and materials like bedding and grit sand, while keeping extra pavers handy for replacements.
- Follow a systematic process to relay the brick paving which includes cleaning the area, laying a sand base, relaying and tapping bricks into place, filling joints with kiln-dried sand, and compacting the area, finishing with a sealer for longevity.
Identifying the Need for Relay
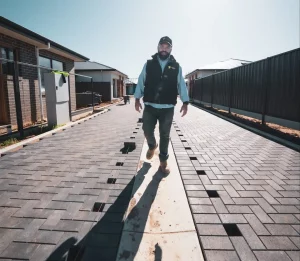
Is your driveway or patio marred by sections of block paving that have sunk or become uneven, detracting from the area’s overall appeal? If so, it might be time to consider relaying these blocks. You can check for irregularities in the surface by using a straight timber plank or spirit level. Any discrepancy could indicate an issue with uneven paving. Watch for pooling water during rainstorms—this is often indicative of low spots within your pavement.
To prepare for corrective action on those affected spots, you’ll want to mark them clearly. This can be done with materials like:
- chalk
- bricks
- string line
- garden hose
- small sticks
These will help define the perimeter of what needs realignment. Prior to undertaking the task of re-laying your paving stones, make sure you inspect and address any foundational issues such as inadequate sub-base material or damaged drainage systems that may contribute to future settlement problems.
Gathering Your Tools and Materials
Before commencing the task, gather all essential equipment. Your operation will require a rubber mallet, chisel, and screeding board to pry up the sunken pavers efficiently while removing any dirt and creating an even surface for reinstallation.
The success of this project also depends on having the right materials at your disposal.
- A bed of bedding sand or kiln-dried sand is crucial for forming a smooth base prior to laying down the pavers again.
- Grit sand or crushed stone provides solid support as a subbase beneath your pavers to ensure they rest on a stable footing.
- Keep spare pavers available too. These come in handy if you need to substitute any that sustain damage during their lifting and relaying.
Preparing the Area
Begin by procuring all the necessary equipment and supplies, then commence with the preparations to relay the area. This process includes elevating any pavers that have sunk, cleaning up accumulated debris, and taking note of how larger sections or patterned paving are arranged for future reference.
Here is an in-depth description of these procedures.
Clearing Out Sunken Blocks
The initial critical step involves removing any sunken blocks and dealing with broken paving blocks. This process can be undertaken using techniques designed for block pavers to repair areas of sunken block paving, which are equally effective for rectifying sections of sunken paving.
Uneven paving can also result from ground subsidence in residential areas, where soil movement weakens the base beneath concrete and brick surfaces.
- Identify depressed sections within the paving by utilising a straight piece of wood or a spirit level.
- Once these low points are marked, get ready to raise them using tools like a screwdriver or pry bar.
- To dislodge the blocks gently and lift them out effectively, employ a rubber mallet if necessary.
After elevating the problematic blocks, it’s important that they are properly cleaned before being put back in place. Clean thoroughly with either a stiff brush or use pressure washing equipment to ensure that the replaced blocks sit flush and evenly upon reinstallation. Clear away any substantial debris from underneath to mitigate against Sub-base complications in future installations.
Cleaning the Base
After removing the sunken blocks, thoroughly cleanse the foundation. Utilising a pressure washer equipped with a high-pressure jet nozzle is optimal for expunging old sand, moss, and weeds that lurk between the pavers. During this operation, wearing safety eyewear to shield your eyes is imperative.
Should residual dirt and stains persist post-pressure washing, fear not. Specialised cleaning solutions exist to aid in achieving an immaculate condition of your pavers prior to resetting them. It’s critical to ensure the base is pristine before proceeding with relaying. Do not dismiss this crucial phase!
Laying the Sand Base
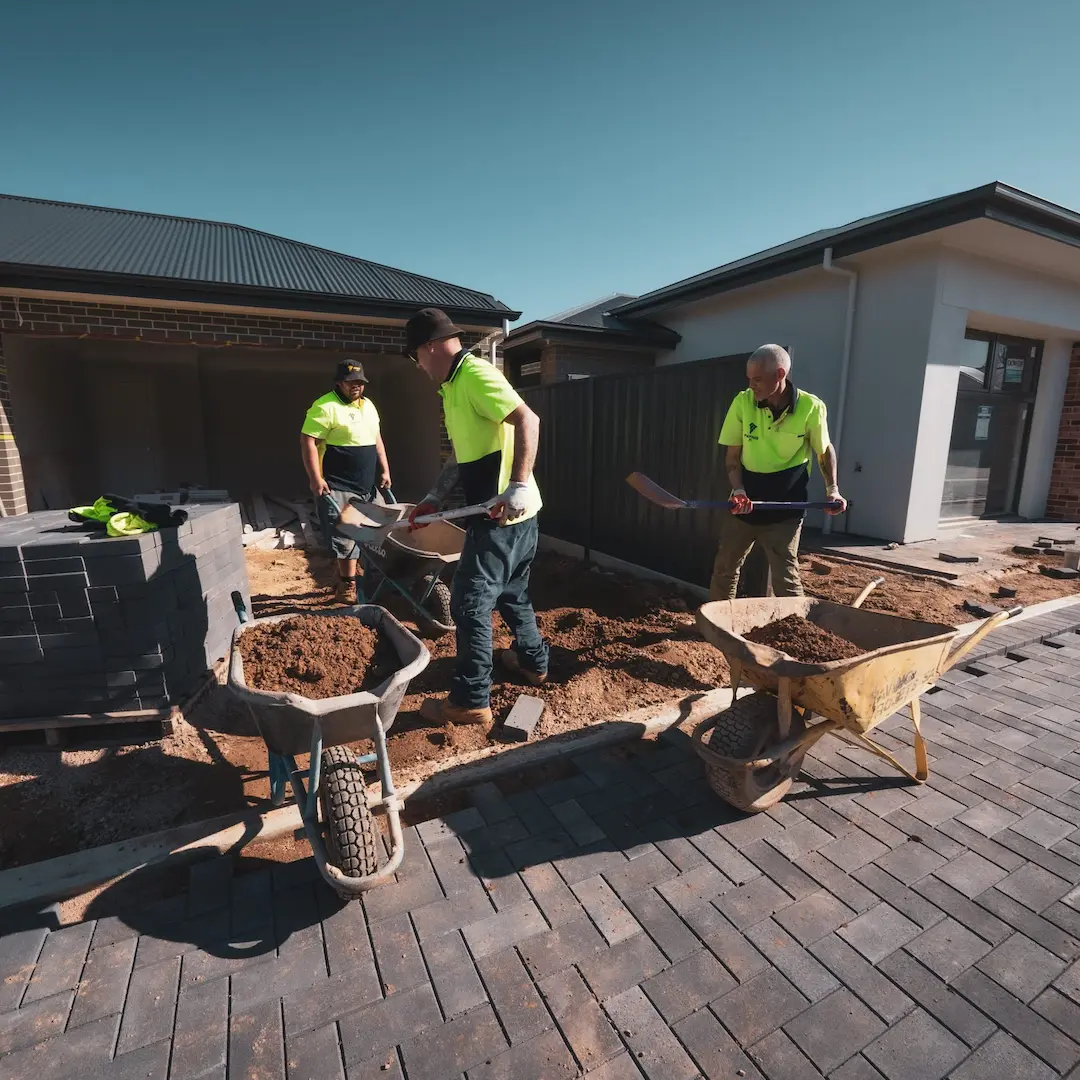
Begin by preparing the base. Ensure it’s free of debris and level. Utilise a screeding board to even out the ground. Follow this with a combination of grit sand and coarse sand evenly spread across to form a flat, stable layer for the upcoming application of finer sand.
Move on to using running boards in conjunction with a notched screed board for evening out the sand—maintain runner boards at an appropriate level throughout this process. The final preparatory step before you can start placing pavers is carefully spreading loose sand until it forms an even 1-inch thick layer covering your work area. It’s crucial that before laying down any material, you compress your sub-base thoroughly either mechanically or manually if dealing with less extensive surfaces.
Finally, upon achieving suitable compaction of gravel and smoothing over your sandy surface via screeding techniques, confirm that everything is properly settled. Your foundation should be solidly packed and levelled adequately so as now ready for instalment of pavers atop it.
Relaying the Brick Paving
Once the sand base has been established and made level, the next step is to proceed with relaying the brick pavers. This process includes setting each paver onto the smooth sand surface while making certain that they are clean prior to placement.
To simplify this task, it can be divided into smaller, more manageable stages.
Positioning Each Brick
Commence the relaying process with these actions:
- Initiate at the perimeter, adhering precisely to the pre-established pattern of laying.
- Prevent sand from adhering to the pavers’ lateral surfaces, which could alter their intended arrangement.
- Employ a level tool throughout placement to confirm that both the bed of sand and each paver maintain an even and flat orientation.
Prioritise cleaning every brick before you reset them into position. This promotes a tight junction and correct alignment when reintroduced alongside adjacent bricks—leading to an immaculate finished appearance on your surface for an outcome that reflects professional craftsmanship.
Tapping Bricks into Place
After laying the paving bricks, it’s necessary to gently settle them into their final position. To do this effectively, employ a rubber mallet or the wooden portion of a club hammer. The key is to tap the pavers lightly so that they nestle evenly into the sand beneath and maintain an even alignment.
Continuously monitor that each brick remains flat and level by using a spirit level throughout this process. It’s crucial to strike a balance between assertive tapping with your tool while being delicate enough not to harm the bricks during their installation on the surface.
Filling the Joints
After the surrounding pavers have been properly positioned, begin filling in the gaps between them using kiln-dried sand. Spread this joint sand evenly across the surface of your paving and employ a stiff broom to vigorously push it into each gap. This method solidifies your pavement arrangement and wards off potential subsidence.
To finalise the application of jointing sand amongst your pavers, adhere to these instructions:
- Use a broom to sweep away any surplus sand from atop the pavers.
- Re-apply pressure over the area to ensure that all joints are firmly packed with sand.
- Make sure that there is a ¼ inch space beneath where you can see an indentation on top of the paver compared to where you filled up with jointing material.
- Gently spray water over your work using a hosepipe – just enough moisture for setting purposes but not so much as washing anything away prematurely. Tread lightly!
- Allow at least one whole day before subjecting newly laid pathways or driveways to foot traffic or vehicles since immediate use could lead their components shifting out of place again thus negating previous effort put during installation phase altogether!
Final Touches for a Solid Finish
Great job getting to the last steps! Now it’s time for finishing up. Use a plate compactor over the area you’ve worked on, pressing down firmly so that it is evenly compacted and aligns seamlessly with the existing surface of pavers, mitigating any risks associated with uneven surfaces.
As you prepare to compress this newly rejuvenated section, safeguard your pavers by laying a protective layer such as rubber or plywood atop them before running the compactor. Afterward, sweep away any lingering sand using both a leaf blower and broom from the surface of each paver. This effort will yield a neat and expertly finished appearance.
Preventative Measures for Longevity
To extend the durability of your recently laid pavers, it’s wise to take certain preventative steps. Initially, treat the pavers with a polyurethane sealer. This solidifies the joint sand while simultaneously shielding the pavers from unsightly stains and improving their look for years ahead. For continuous upkeep of their pristine condition and defence against weathering or traffic wear, reseal every three to five years.
Protective action involves applying a specialised weed killer designed for pathways and block paving. Such treatment hampers the proliferation of weeds, diminishing regular maintenance needs while preserving the aesthetic quality of your remaining pavers over an extended period.
Summary
Undertaking the task of relaying your brick paving needs not be overwhelming thanks to this comprehensive guide that lays out each step with clarity. You’ve acquired all necessary knowledge for a professional-grade job, including identifying when it’s time to relay and securing the appropriate tools and materials. The process includes preparing the site, establishing a sturdy sand base, meticulously laying down bricks again, infilling joints between them, and executing final touch-ups. To make sure your efforts stand the test of time resulting in an aesthetically pleasing and enduring brick pavement remember to implement preventive care measures. With these insights at hand, are you prepared to rejuvenate your paving?
Frequently Asked Questions
How do you relay a paving slab?
To reposition a displaced paving slab, first elevate the affected slab, then clear away any loose sand or mortar. Strengthen the sub-base and spread mortar evenly before reinstating the slab in its place. Ensure that mortar completely occupies the space underneath to avoid empty pockets.
Can you relay block paving?
Certainly, it is possible to reinstall block paving by ensuring the ground beneath is even and rectifying any underlying issues that led to subsidence. After cleansing the blocks, they should be laid closely alongside existing paving bricks, thus establishing a stable and flat surface.
How can I tell if my brick paving needs relaying?
Should you observe that your brick paving has become uneven or sunk in certain areas, and if accumulations of water are evident after it rains, this is a strong indication that the paving needs to be re-laid.
Be vigilant for these indications as they can help you identify when maintenance is necessary.
What tools and materials do I need for relaying brick paving?
When undertaking the task of re-laying brick paving, it is imperative to have on hand essential tools and materials such as a rubber mallet, chisel, screeding board, bedding sand, grit sand or crushed aggregate. Having additional pavers available is crucial for the project.
The success of this endeavour relies heavily upon these fundamental components.
How do I prepare the area for relaying?
Begin the relaying process by removing any sunken pavers and eliminating debris from the area. Should you be dealing with a large space or one that features a patterned design, it is advisable to snap photos for guidance so as to accurately reposition the pavers in their original layout.