A successful paving project, with both durability and aesthetic charm, can be accomplished when you make the right sand choice. Adhering to a comprehensive guide throughout your paved area construction is integral for ensuring long-term success – so let’s unravel the mysteries of carrying out an effective and lasting paving venture! It all begins by deciding on what kind of sand works best in order to accomplish these goals. For more information about paving services in adelaide, speak to the the best paving contractors adelaide has to offer, Paving SA!
Key Takeaways
- Select the right sand for your paving project to ensure stability, visual appeal and effectiveness.
- Prepare ground with debris removal, levelling and compaction of a base layer before laying pavers.
- Maintain paved surfaces by regular cleaning and prompt repair of damaged pavers for long lasting results.
Selecting the Right Sand for Your Paving Project
When paving a surface, using the right sand is essential. There are various types of sands to choose from including concrete and polymeric sand, coarse sand for paver joints, and general purpose paver sand, which should be fine-grained and dry when in use. Pavers offer more robustness than conventional crushed stone or asphalt surfaces while providing superior aesthetics with simpler maintenance requirements. It’s necessary to ensure there is a layer of weed matting covering the soil underneath if you wish to stop weeds developing between your pavers over time. Comprehending all that different sands can bring to your project allows you to make wise decisions about which type will suit best going forward so stability, visibility and durability outcomes are achieved effectively.
Concrete Sand
Concrete sand is often used as a paver base due to its resistance and the angular sides of the particles, which measure 1/8 inches in diameter, giving way for an even surface. To make this material, rocks are broken down into smaller pieces then washed thoroughly to eliminate any impurities before being graded based on size and shape uniformity. The angles allow concrete sand grains to fit together snugly so that when laying pavers they remain stable with little shifting or displacement over time.
Due to superior water drainage qualities that stop erosion from occurring, it makes paving projects easier since minor variations can be made regarding joint heights too making sure your paved area lasts longer because you have created a good foundation using concrete-sand also known as ‘paving-sand’. Selecting this kind of substance means providing long lasting underpinning for all pavement construction needs ensuring longevity going forward.
Polymeric Sand
Polymeric sand is an ideal solution for filling gaps between pavers, consisting of a blend of fine grains and polymer additives. It provides a range of advantages to pave joints that include enhanced durability and prevention from shifting, weed growth, as well as making it easy to apply and maintain. When exposed to water or moisture, the polymeric sand hardens around each joint creating a layer over the surface area which makes it difficult to remove afterwards. While restricting insect infestation too, and hindering weeds from growing in between any stone work layers. All while also protecting against washout occurring within those same joints, ultimately proving this investment into polymers is much more resilient than simply using plain old ordinary regular sand.
Coarse Sand
For a more reliable and extended-lasting paving, it is suggested to use coarse sand. Between 2 millimetres and 4.75 millimetres in size, this type of sand ensures the precise laying out of your pavers on top as well as offering a stable foundation that won’t give away easily over time.
Commonly known bedding or playground sand, when setting down pavements this choice proves ideal for an easier sliding and adjustment process during placement while also providing protection against displacement due to wear with age too! Utilising coarse Sand for your pavement project will yield good results ensuring durability plus better performance throughout its lifetime.
Laying Pavers: Step-by-Step Guide
Laying pavers can be a very satisfying DIY activity if you follow the steps accurately, with all of the necessary equipment. Starting from prepping up the base to placing down sand and finally laying out your chosen paving stones, this guide will provide instructions for achieving optimal results. Not only is it possible to achieve an impressive finish through proper installation techniques, but doing so enables one more control over their personal project when utilising these simple tips!
Preparing the Ground
Before installing pavers, it’s essential to have the correct base for an effective paving project. Preparing the ground includes:
- Clearing away any debris from the area while wearing safety equipment such as protective eyewear and gloves with steel-capped boots;
- Making sure that everything is levelled properly;
- Putting down a layer of road base or crusher dust at 10-15 cm thick ;
- Using a tandem drum roller to firmly compress this layer evenly .
This process ensures a firm foundation beneath your pavers, extending their lifespan and preserving their appearance in time longer than if not prepared correctly beforehand. Adequate groundwork preparation is key for achieving success when laying out paver stones.
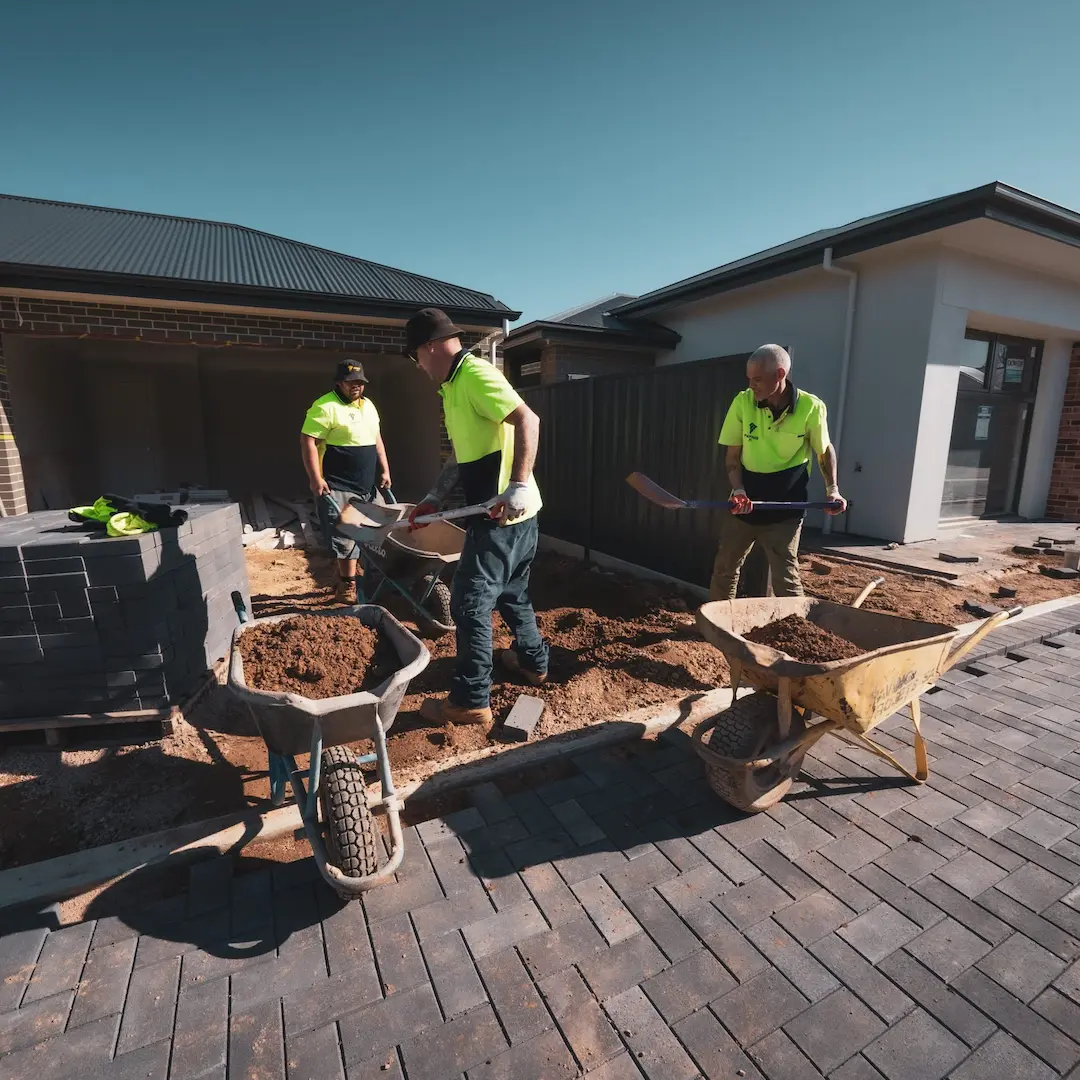
Setting the Sand Base
Once the groundwork has been set, it is time to lay down a sand base. This can be done with a layer of coarse sand, road base or polymeric – rake and compact this before laying your pavers. A minimum thickness of 30mm in loose form should provide sufficient support for these. Use a spirit level when creating an even surface on which you then wet with water to help settle the ground further. Use also a plate compactor if necessary as this will ensure everything is flat and suitable for paving overtop afterward, making sure that all aesthetics remain intact due to having secure underlying foundations from previous measures taken here!
Installing the Pavers
Once the sand is spread, it’s time to begin laying down your pavers. Ensure a gap of 2-5 mm between each piece and use a rubber mallet and leveller or timber plank for even placement. Gently tapping with the mallet should be enough force to secure them without compromising their interlock capabilities. To ensure stability and an aesthetically pleasing finish after laying all those pavers, you can run over everything with a plate compactor, this will settle any substrate below as well as making sure that both paver pieces are levelled off properly while allowing extra space for some excess sand in between gaps! Adhering to these steps results in beautiful paving stones which last through wear and tear seamlessly no matter what environment they’re used in.
Filling Paver Joints: Best Practices
For a successful paving job, it is important to use the right kind of fill sand and execute correct techniques for application. We will discuss different varieties of sands used in this process as well as how to correctly apply them when filling paver joints.
Filling spaces between pavers with appropriate sand is critical both functionally and aesthetically speaking, so choosing wisely is essential for obtaining good results on your project involving paving work. Through the following information, you’ll be able to understand what types are suitable depending on where they’ll be applied – ensuring stability while making sure everything looks its best!
Choosing the Right Fill Sand
Selecting the right fill sand depends on what your specific project needs are. Here are some of the options you have to consider: first, Play or masonry sand which is a good choice for stability and aesthetics due to its fine texture giving off a smooth levelled surface while also keeping the pavers in place with binding properties. Second, Kiln-dried sand provides optimal drainage while being compatible with various paving materials. Lastly Polymeric. Sand contains additives so it hardens quickly upon exposure to moisture creating durability.
Before deciding on which type of fill sand would be best suited for your particular paving job take into account all possibilities like how much more could be needed compared to other projects, as well as taking help from professionals if necessary since they can guide you better than anyone else in determining exactly what kind should go where and why when filling joints between pavers, etc.
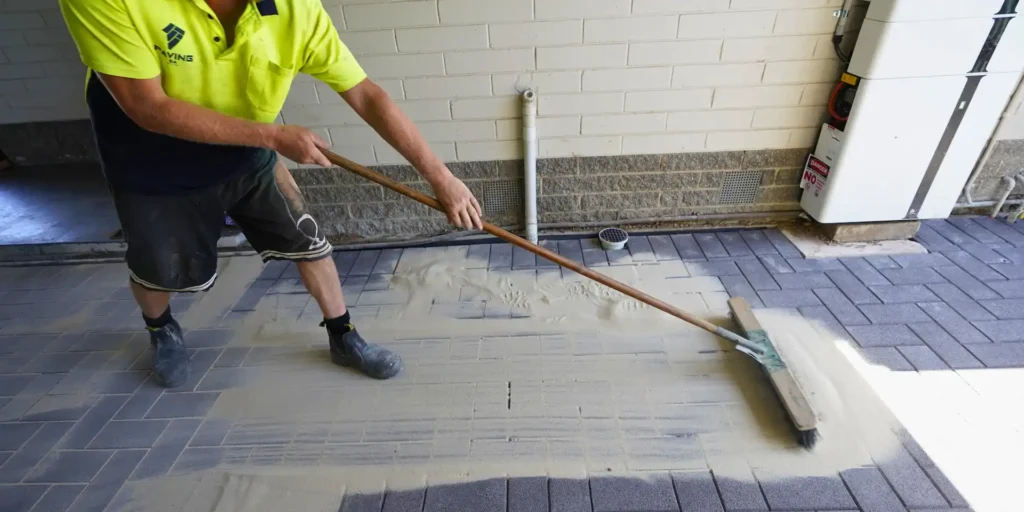
Application Techniques
To achieve a strong and beautiful paved surface, fill sand needs to be applied correctly. Begin by scattering the sand into all of the paver joints before using a broom or brush to press it firmly down in place. Next, spritz some water on top for activation purposes, this will enable adherence between grains as they bind together tightly once dried out completely. To ensure success with your paving project, invest time carefully applying fill sand appropriately with proper technique being used each step of way!
Maintaining Your Paved SurfaceThe pavers in your paved area must be well-maintained to ensure they look their best and last longer. Cleaning regularly is essential as it helps keep the surface looking sharp, while prompt repairs of any damaged areas will help maintain its integrity.
In this section we’ll discuss why regular cleaning is important and cover how to go about repairing broken or cracked pavers for successful upkeep of the outdoor space.
Regular Cleaning
Regular cleaning is essential to maintain your pavers’ appearance and extend its lifespan. Start by sweeping away dirt, debris and stains with a brush or high-quality product. Then rinse the surface down using either a hose or pressure washer before settling it back in place. To control weed growth between them, white vinegar can be used as an eco-friendly alternative to store bought products, otherwise you could introduce stabilising sand for extra support! Not only will this improve the aesthetic appeal of any outdoor area, but also boost overall property value too – so make sure regular maintenance is on your agenda!
Repairing Damaged Pavers
Periodic inspection and maintenance of your paved surface is required for its durability. Prompt repair of issues such as sunken, cracked or stained pavers will ensure that the beauty and integrity are preserved. To restore affected areas, these steps should be taken. Lift the displaced pavement, clean the edges, level off any exposed ground below them before adding sand or gravel to make a strong base. Lay down all updated blocks again in place, finally compacting it with tapping for stability. Doing this proactively enhances value while keeping outdoor spaces looking their finest over time!
Tips for a Successful Paving Project
To ensure a successful paving project, the necessary materials and experienced contractors need to be taken into account. Here are some important tips on how to plan your next undertaking efficiently.
Firstly, it’s essential that proper preparation is carried out before commencing any paving venture in order to achieve optimal results. Secondly, working with proficient experts would guarantee you top quality workmanship which will result in long-lasting performance from the end product of this critical task.
Planning Your Paving Project
The success of a paving project depends on adequate planning and careful selection of materials. Considerations such as purpose, design, budgeting and existing conditions should be taken into account to create the desired result. Layout patterns like straight lay, herringbone or random all have their own specific advantages in terms of stability and attractiveness when laying pavement. It is also crucial during this phase to evaluate how water will drain from the paved surface so it does not lead to pooling that can cause erosion or damage the finished product.
If these steps are done correctly, you should end up with an attractive surface which withstands use over time for any planned outdoor space.
Working with Professionals
For a successful and long-lasting paving project, consider investing in professional contractors. Utilising their knowledge of the materials, as well as expert design abilities, ensures your surface will be both durable and visually pleasing. Look for factors such as experience levels, availability or location proximity before making any decisions, plus get referrals from people you trust if possible! With access to the right supplies & expertise on hand it is easy to see why working with professionals offers great advantages when compared against DIY options that may not always lead to a satisfactory result.
Summary
To sum up, your paving project will be successful if you are mindful in selecting the proper sand and meticulously follow a guide for laying pavers. With this knowledge to hand, working together with experts and regularly maintaining the paved area can create an attractive outdoor space that is durable as well. So go ahead confidently on your next adventure of setting pavers, knowing fully what it takes to construct a great finish!
Frequently Asked Questions
What sand is best for paving?
For paving purposes, concrete sand is the ideal option as its coarse nature will not permit moisture to get entrapped between pavers and provide a sturdy base. Polymeric sand also provides excellent results that help keep everything in place for an extended time period. It can be said both options are among the best sands one could use when installing pavers or doing any kind of related work involving pavement.
What sand to use between paving?
Polymeric sand is the ideal type of sand for completing joints between paving blocks. By adding water, a strong and durable bond can be formed due to its malleable structure unlike kiln dry which consists only of very fine particles with no moisture content at all.
The ICPI recognises polymeric as the most suitable option when it comes to filling gaps in patios. This material should not be used on driveways.
How do I ensure a stable and levelled surface with concrete sand?
For a levelled and even base utilising concrete sand, the best results come from using angular edges with an eighth of an inch in diameter.
What are the benefits of using polymeric sand in paver joints?
Polymeric sand is an ideal choice for filling paver joints, providing great durability to combat shifting and helping inhibit weed or moss growth. The application of this type of sand is easy while its maintenance also requires minimal effort.
What are some tips for maintaining my paved surface?
Preserve your paved surface by sweeping away any debris frequently, banishing stains and avoiding weed development. Make sure to promptly repair paver damage in order to maintain the good look of it for longer.