Levelling ground for paving is the first step towards a stable and visually pleasing outdoor space. This guide on how to level ground for paving cuts straight to the chase, offering you a clear path to preparing your site for paving stones. We’ll cover everything from site clearing to compaction without any fluff, so you can quickly move forward with your project, certain you’re on solid ground. For the best Adelaide paving solutions, schedule a free quote with the friendly team at Paving SA!
Key Takeaways
- Proper site preparation, including clearing the area and checking for underground utilities, is essential for a successful paving project to create a solid foundation.
- Defining precise boundaries and excavation depth, as well as creating a flat and compact base with proper drainage and slope, are critical for the stability and longevity of the paved surface.
- Installing edge restraints, laying and screeding sand accurately, and ensuring pavers are properly placed and levelled will lead to a durable and aesthetically pleasing paved area that, with regular maintenance, will last for years.
Preparing the Site for Your Paving Project
As with any successful project, paving requires a solid foundation. This begins with site preparation – a process that involves clearing the area and checking for underground utilities, both of which contribute to a safe and efficient paving project.
Let’s examine this step by step guide in detail.
Clearing the Area
Before you lay your first paver, ensure you have a clean slate. This requires removing any obstacles in the area such as plants, rocks, and debris. Tools such as wheelbarrows, rakes, and shovels come in handy during this process.
Upon clearing the area and laying down landscape fabric, you move a step closer to realising your dream patio!
Checking for Underground Utilities
Before you start digging, it’s imperative to check for any underground utilities. Damaging a pipe or wire can lead to dangerous and costly situations. So, make sure to call 811 or your local utility service to steer clear of any potential hazards.
Setting the Boundaries and Depth for Your Paver Installation
With the site cleared, the next step involves outlining your work area. Defining the boundaries and depth of your pavers is critical for their correct placement and stability. But how exactly do you proceed? Let’s dissect the process.
Marking the Perimeter
Begin by marking the layout and boundaries of your paving project. Stakes and strings are your best friends here. Place the stakes into the ground and connect them with a string at ground level. This gives you a clear outline of your work area to guide you throughout the installation process.
Determining Excavation Depth
The depth of your excavation depends on several factors, including the type of pavers and their intended use. Generally, you’ll want to account for the total depth of the paver, bedding, and sand layer. This ensures your pavers are stable and ready for use. If you’re unsure about the right depth for your specific project, it’s often best to consult with a local excavation and earthmoving professional, for example Deadset Digging. Their expertise ensures the site is prepared correctly, saving you time and preventing costly mistakes down the track.
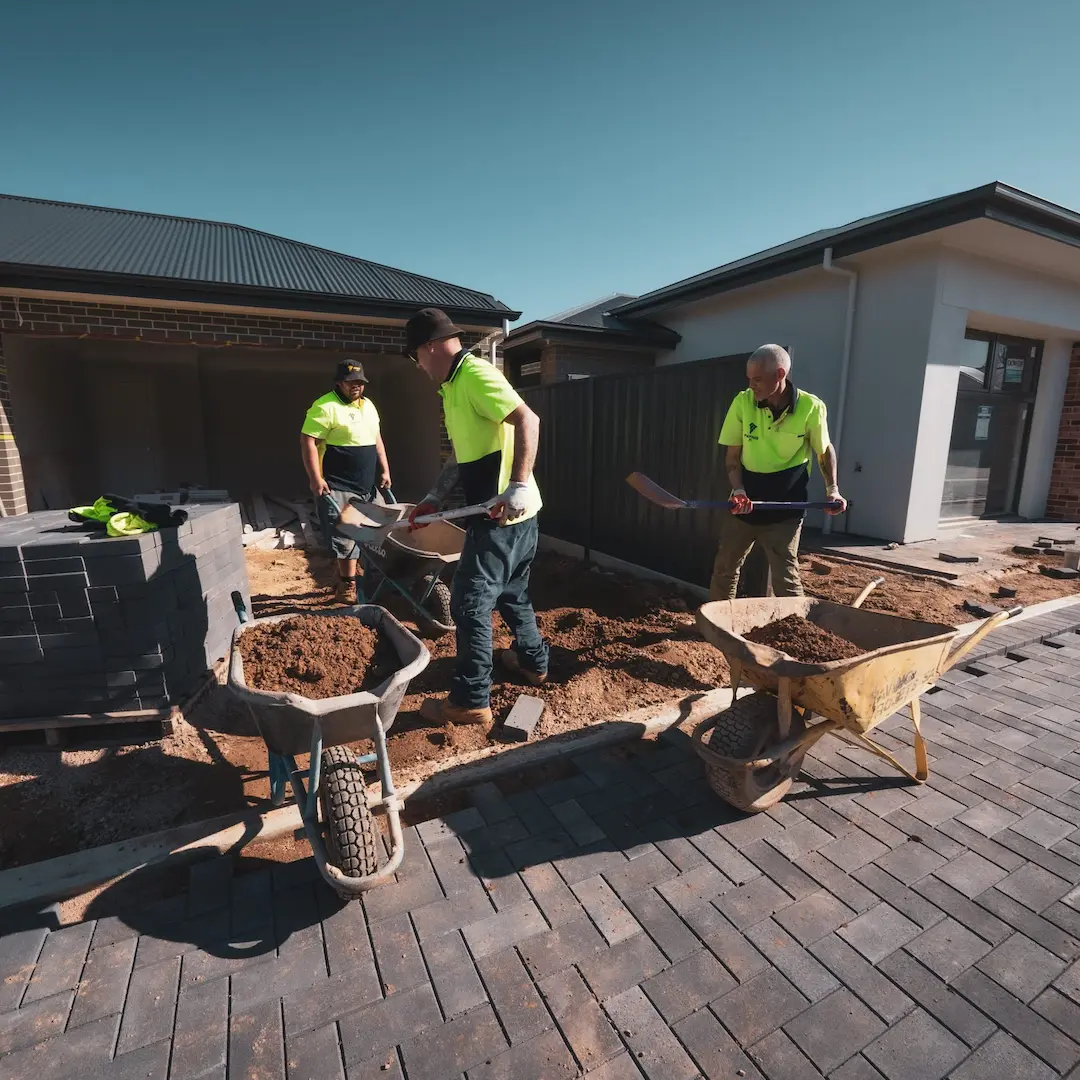
Creating a Flat and Compact Base
Having set your boundaries, the next task involves establishing a solid foundation. Achieving a flat and compact base is pivotal for the durability and stability of your paved surface. The bottom layer plays a crucial role in this process. Let’s delve further into this process.
Compacting the Soil
Before you start laying pavers, you need to make sure the soil is compact. Compacting the soil reduces settlement after construction, leading to a more robust and long-lasting pavement.
A plate compactor is an excellent tool for this job, along with a hand tamper and a carpenter’s level, ensuring a level and sturdy sub base foundation.
Adding and Levelling Gravel
After compacting the soil, it’s time to add some gravel. This provides additional support and stability for your pavers. Make sure to level the gravel to create a smooth, even surface for your pavers.
The recommended depth of gravel is 4 inches for pedestrian areas and 6 to 10 inches for areas where vehicles will travel.
Ensuring Proper Drainage and Slope
Water can be detrimental to your pavers. To prevent water accumulation and prolong the life of your paved area, proper drainage and slope are required.
Let’s investigate the methodology behind this.
Measuring and Adjusting Slope
A good slope ensures efficient drainage, directing water away from structures. To measure and adjust the slope, use a level and adjust the base material to create a slight incline.
To find the ideal slope, use a measuring tape to ensure it is 1 inch for every 4 feet in length.
Maintaining a Level Surface
While having a slope is important, maintaining a level surface is equally crucial. Regular checks and adjustments during the installation process ensure your pavers are level and secure within the sand base. This results in a visually appealing and functional paved area.
Installing Edge Restraints and Laying Sand
Edge restraints serve as the guardians of your pavers, ensuring their position remains fixed and preventing any shifting. After their installation, the coarse sand laying process begins at the outer edge.
Let’s scrutinise these steps further.
Securing Paver Edges
Installing edge restraints is a simple process that goes a long way in ensuring the stability of your pavers. Using pre-mixed concrete or a site-mixed equivalent, you can easily secure your pavers and prevent unwanted expansions.
Applying and Screeding Sand
After securing your pavers, it’s time to lay the sand. A layer of sand provides a cushioned, level surface for your pavers. Spread the sand evenly throughout the paving space and screed it properly to achieve a level surface.
Now, you’re ready to lay the pavers!
Laying Pavers and Final Adjustments
Almost done! With the preparation work completed, the next phase involves laying the pavers and making final adjustments – the stage where your paver project begins to take shape.
Placing Pavers in Pattern
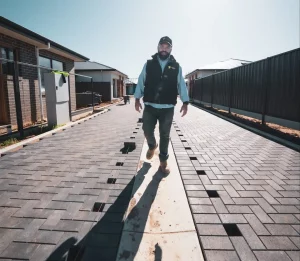
Placing pavers in the desired pattern not only enhances the aesthetic appeal but also improves the strength and cohesion of the pavers. Whether you choose a basket weave, running bond, stack bond, or herringbone pattern, ensure each paver sits firmly and evenly on the sand bed.
Tapping Down Pavers
Once your pavers are laid, it’s time to secure them by tapping them down. Use a rubber mallet to ensure each paver is level and secure within the sand base. This ensures your pavers are ready to withstand any load.
Finishing Touches and Maintenance Tips
With your pavers now laid, you can add the finishing touches and understand how to maintain your freshly paved area. From filling joints with sand or stone dust to routine cleaning and sealing, we’ll discuss how to preserve the aesthetics of your paved area.
Filling Joints with Stone Dust or Sand
Filling the joints between your pavers with stone dust or sand is a crucial step. Not only does it prevent weed growth, but it also stabilises the pavers.
Be sure to fill the joints completely for best results, ensuring they have the same thickness.
Maintaining Your Paved Area
Regular maintenance of your paved area ensures its longevity. This includes regular cleaning, filling cracks and potholes, sealing every two years, and promptly removing snow and ice in winter.
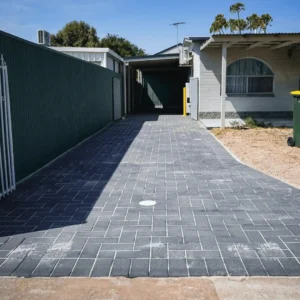
With proper care, your paved area will remain beautiful and functional for many years to come.
Summary
We’ve covered a lot of ground in this step-by-step guide to paving. From preparing your site and setting boundaries to laying pavers and maintaining your paved area, you now have all the knowledge you need to create a beautiful and durable paved area. Now it’s time to put these techniques into practice and bring your paving project to life!
Frequently Asked Questions
What is the easiest way to level ground for pavers?
To level ground for pavers, it’s best to prepare a solid base and then add a layer of sand. A simple way to ensure a consistent sand depth is by using two pieces of metal pipe to screed the sand off level.
How do you lay pavers on uneven ground?
To lay pavers on uneven ground, start by prepping the area, outlining it with stakes or a rope, preparing the base, installing the paver bedding course, placing the pavers, cutting them to fit, securing the edges, and then compacting the pavers.
How do you prepare ground for paving?
To prepare the ground for paving, make sure to clear away roots and rubble, then create a 50mm thick compatible sand sub-base, level it, and compact it using a hand or mechanical compactor. Hand compaction is typically sufficient for most domestic paving projects.
Why is it important to check for underground utilities before paving?
It is important to check for underground utilities before paving to prevent damage to pipes or wires, which can be costly and dangerous.
How do I determine the correct excavation depth?
To determine the correct excavation depth for pavers, consider factors like the type of pavers, their intended use, and local climate. Generally, you’ll want to account for the total depth of the paver, bedding, and sand layer.