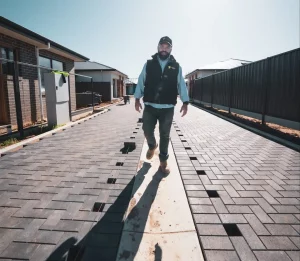
If you’ve been dreaming of a way to revamp your dull, worn-out driveway and make it look attractive while still being functional, then installing some driveway pavers could be the perfect solution! Not only are they an economical choice with minimal maintenance required, but their presence can also add significant value to your property’s curb appeal. Plus, eco-friendly permeable varieties help reduce water runoff pressure on local stormwater systems by allowing water to flow through them. If you’re looking for a paving contractor Adelaide wide, the friendly team at Paving SA offer professional and reliable paving services.
This guide will walk you step-by-step through selecting the right type of pavers for laying in driveways. Preparing/planning site conditions and ultimately how to install the selected paver types correctly so that you get desirable results aesthetically as well as functionally speaking, sure enough to make everyone around green with envy at its magnificent beauty!
Short Summary
-
- Choose driveway pavers that meet both aesthetic and practical needs.
-
- Prepare the site before beginning excavation, including a soil percolation test.
-
- Regular maintenance is necessary to preserve the beauty and function of driveway pavers.
Choosing the Right Driveway Pavers
When it comes to driveway pavers, you have a wide selection when considering style, durability and budget. Concrete or brick will normally be the choice of paver material. With varied sizes, shapes and colours available for your use. Natural stone, such as crazy paving, provides slip-proof surface security as well as long lasting durability if this is what you are looking for in terms of pavement materials. To determine how many pavers you need measure the area then multiple length by width obtaining total square meters – add an extra 5% just in case there’s any cutting required/breakages occur during laying process.
Permeable options provide environmental advantages too. Water passes through gaps between stones into crushed bedding below which mitigates risks associated with pooled moisture on surfaces such as driveways. Consequently, some districts even offer awards/ tax incentives making it one beneficial option worth exploring! So not only do you get attractive paving, but also help out our planet at the same time – everyone wins!
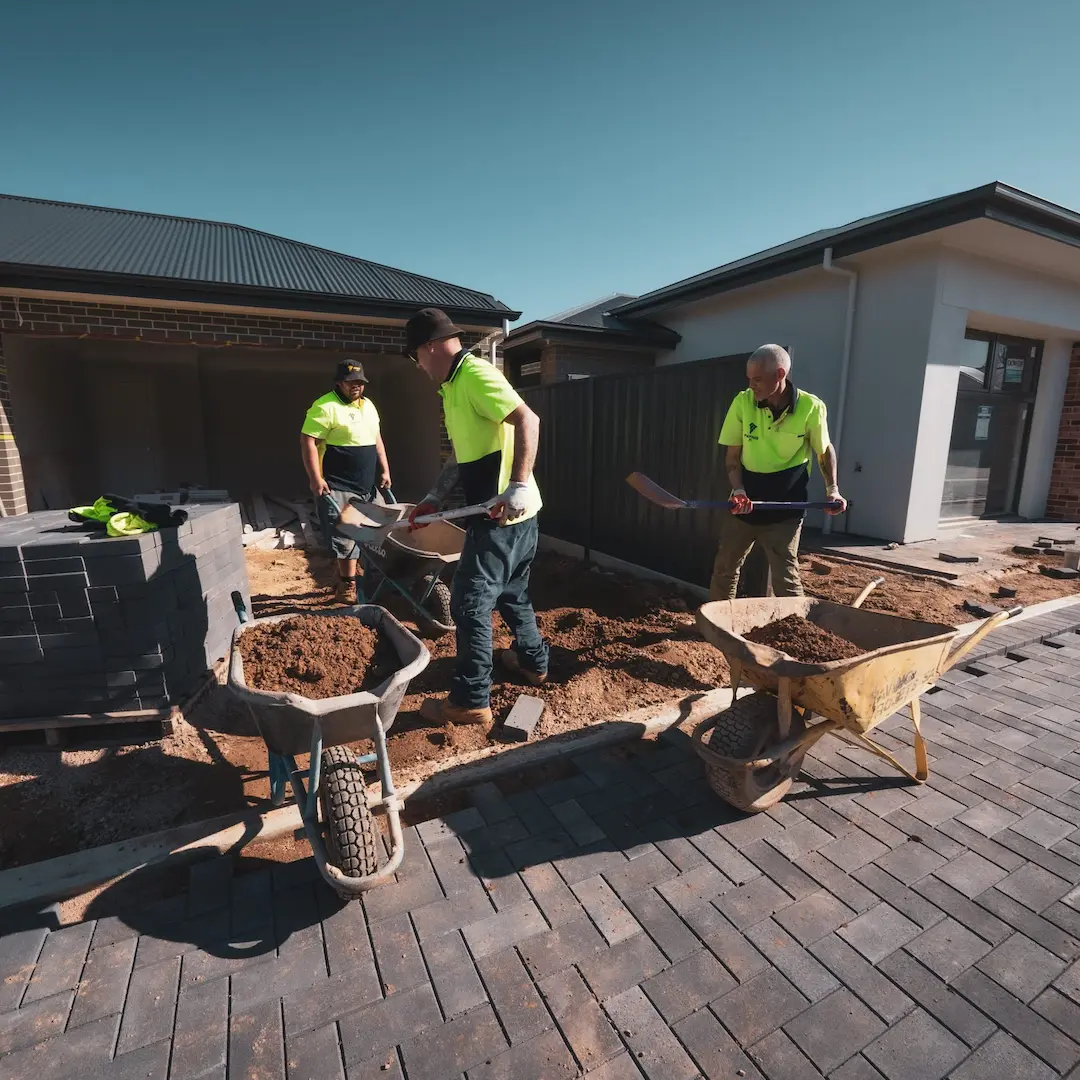
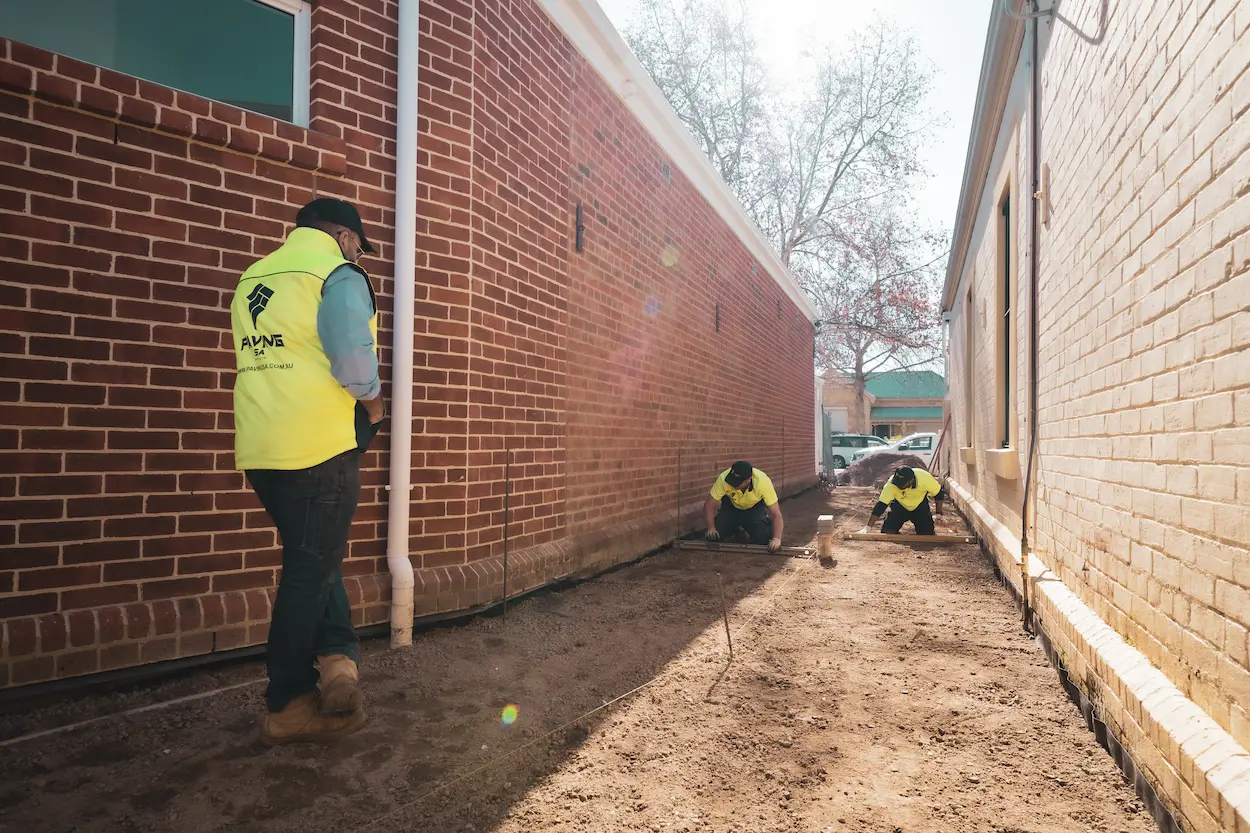
Preparing the Site
Prior to beginning excavation, it is necessary to prep the area. Start by getting rid of any existing debris and making sure there are no underground utilities that could be damaged as you dig.
Take care not to overlook running a soil percolation test – which will let you know about the drainage capacity of your chosen site’s earth composition – so that a deeper base for pavers or extra drainage solutions can be implemented if needed before starting digging.
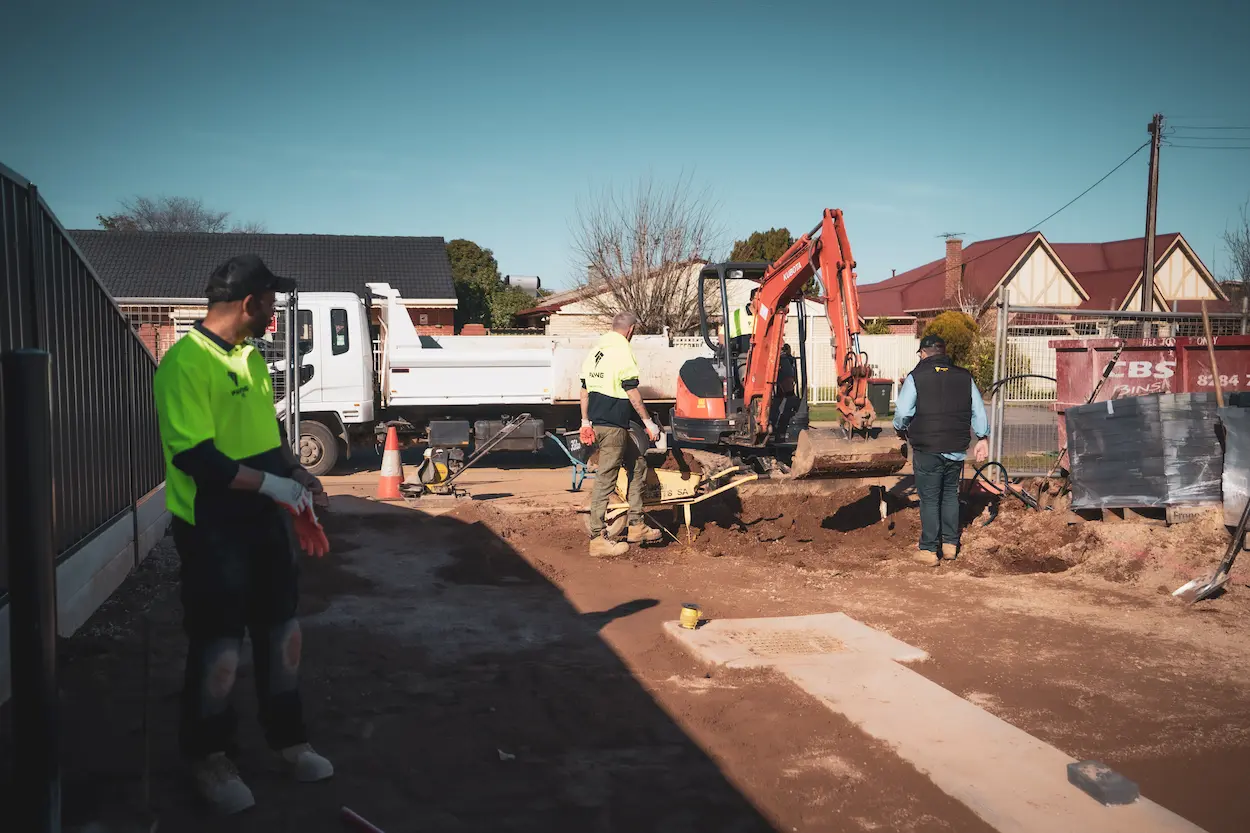
Excavation and Soil Preparation
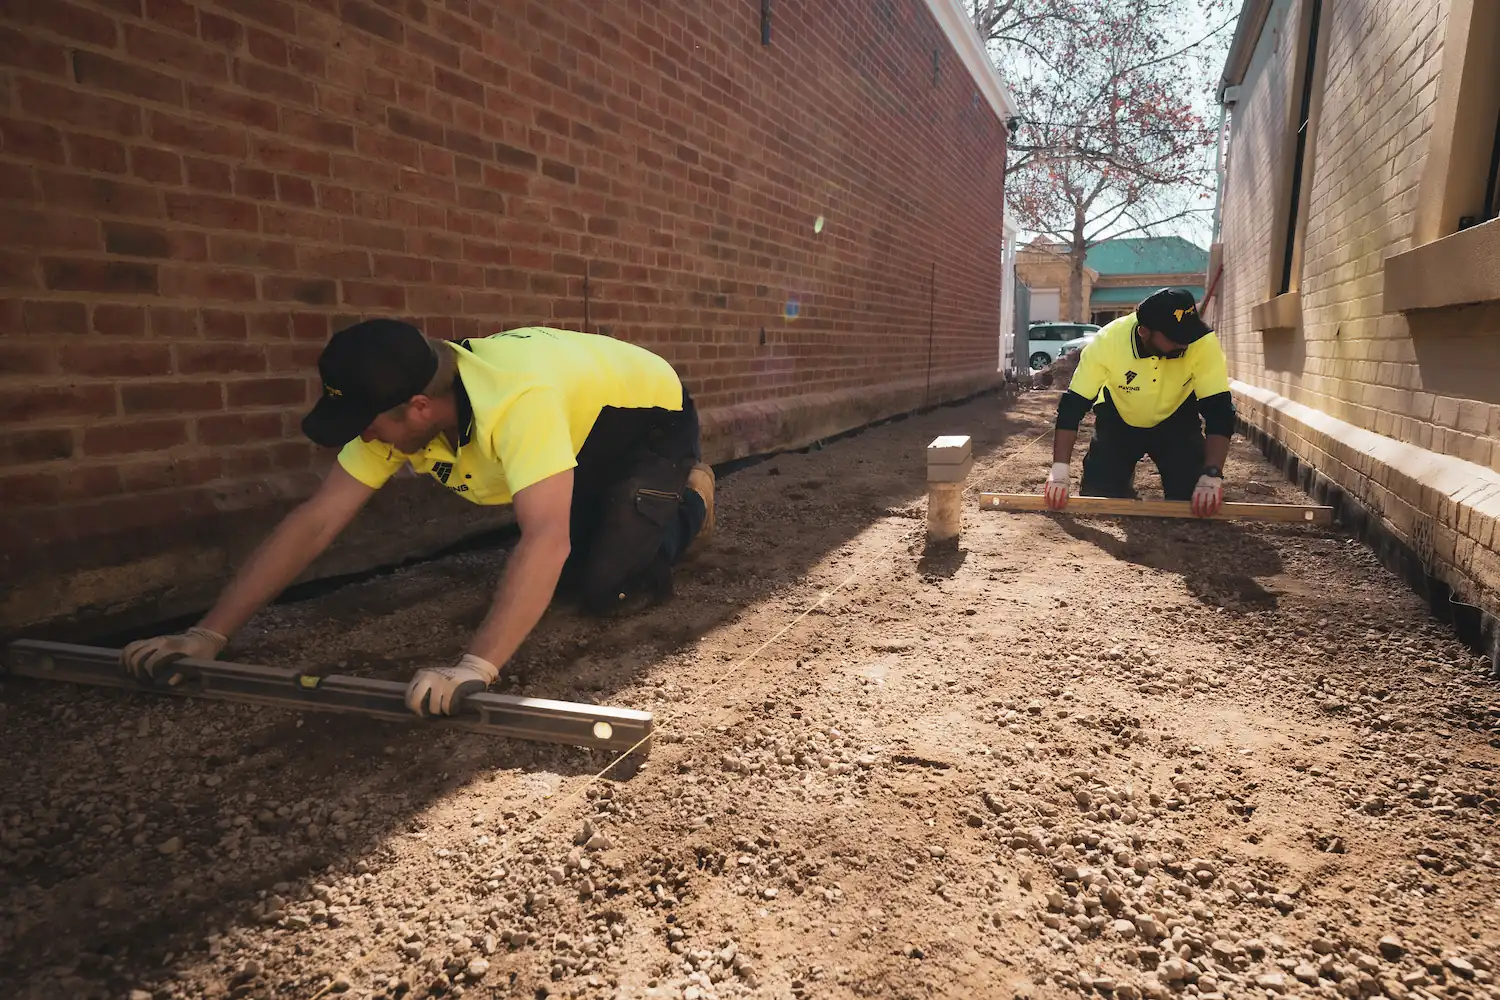
It’s time to begin excavating the driveway area until it reaches a depth of at least 15 inches for permeable pavers, except if the perc rate is lower than 0.52/hour. Utilising shovels, hoes and spades will help achieve this goal successfully.
Then comes setting up the base material by adding two layers: 6-inch washed crushed stone about 15-inches deep and 4-inch one above that. Both are meant to be compressed twice so they form a solid foundation for installing new pavers later on in order to avoid sinking or shifting over time once installed properly.
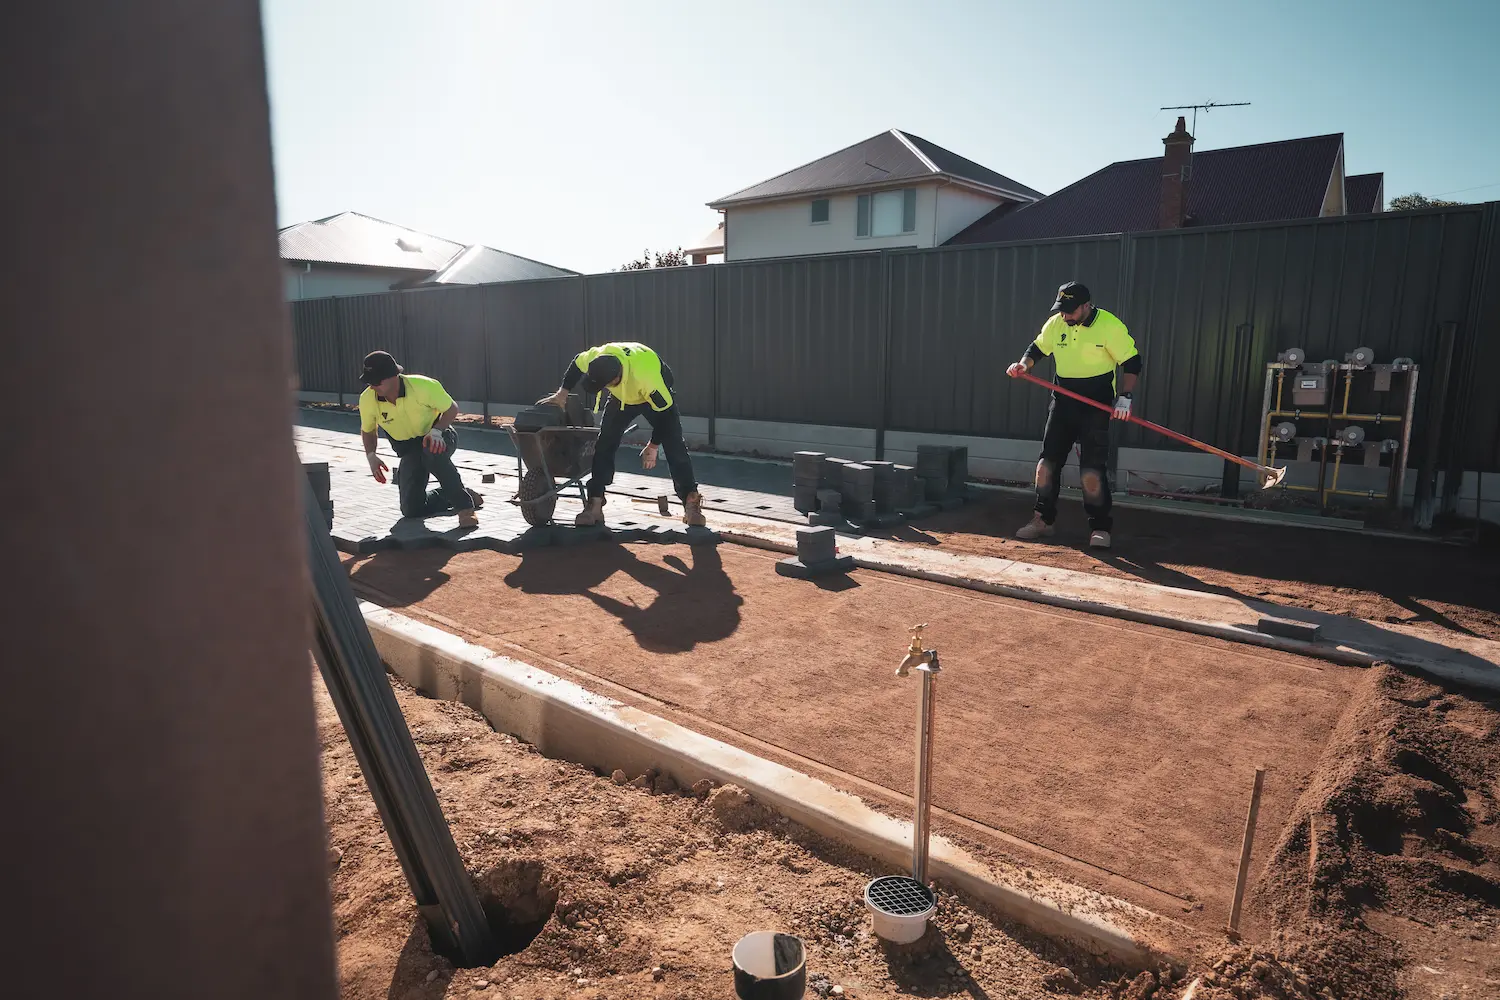
Installing the Base Material
Once the digging has been finished and the soil prepped, it’s time to install the base. Start by laying compacted crushed stone. After spreading 1/4 inch stones, screed off this surface in order to create a level foundation for your pavers. Continue repeating this action with multiple layers of pebbles while using screeding to keep everything even, this is required if you want long lasting results from your pavement material setup. Making sure that all bases are secure and draining properly beforehand will ensure quality results.
Setting Up Edge Restraints

Once the bedding layer is down, installing pavers can commence with edge restraints in place to guard against any shifting or movement. To begin laying them, make sure each one fits close together and edges up to the edging. As you go along, check that everything lines up square. Modify as needed should there be variations from perfect symmetry. Any gaps around paver pieces are filled by cutting more of this material for a snug fit on your driveway installation project completion. Edge restraints must not be forgotten since they ensure its durability and longevity over time!
Laying the Sand Layer
Once the cut pavers are in their correct position, use a large push broom to scatter 1/4-inch stone into the spaces between them and any adjacent paver. Sweep diagonally across the grid for an even distribution of sand throughout all gaps. Subsequently, it is important to press firmly with a plate compactor on a diagonal angle so that these pavers settle deeply within its sandy layer. Topping up settlement during this step if needed before re-compacting once again. This will ensure successful prevention against future movement or misplacement of your beautiful finished product! This is an essential step in any paving service, where the beauty of your new paved surface really comes to fruition.
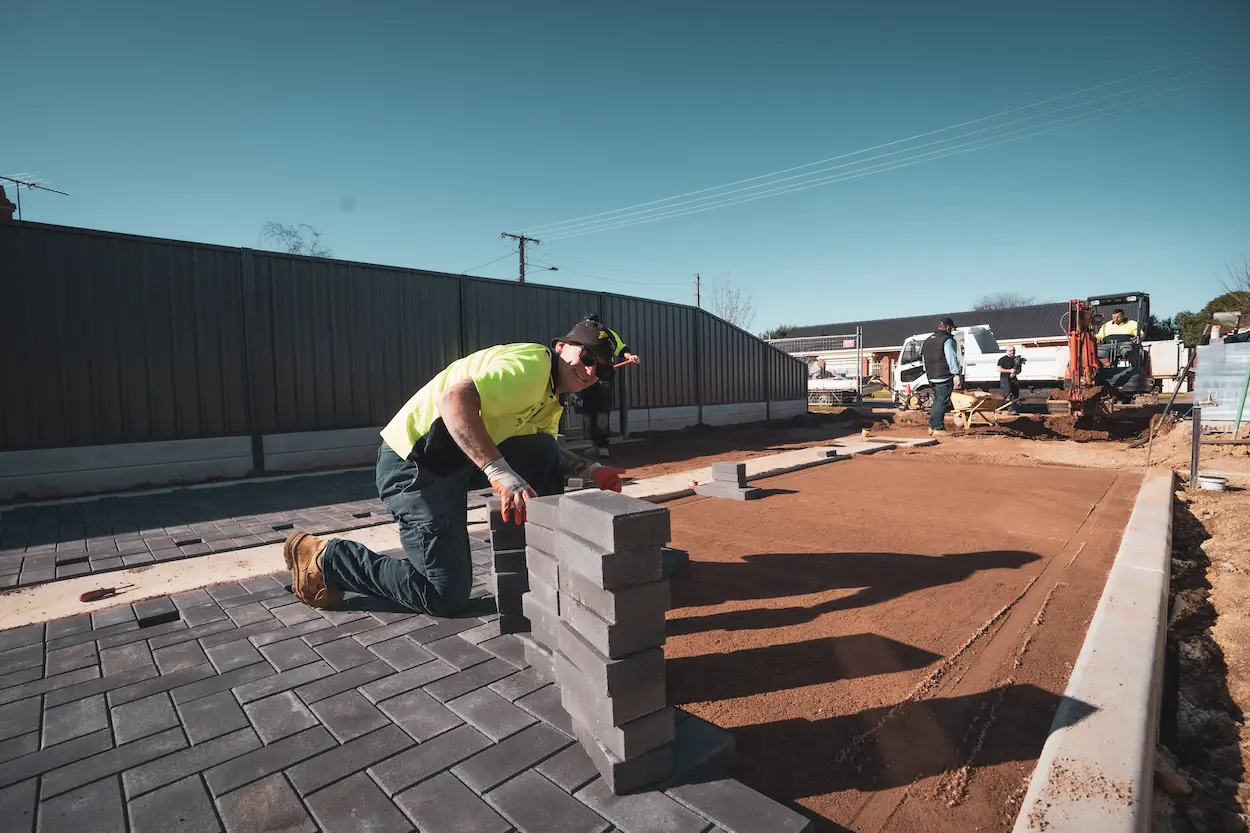
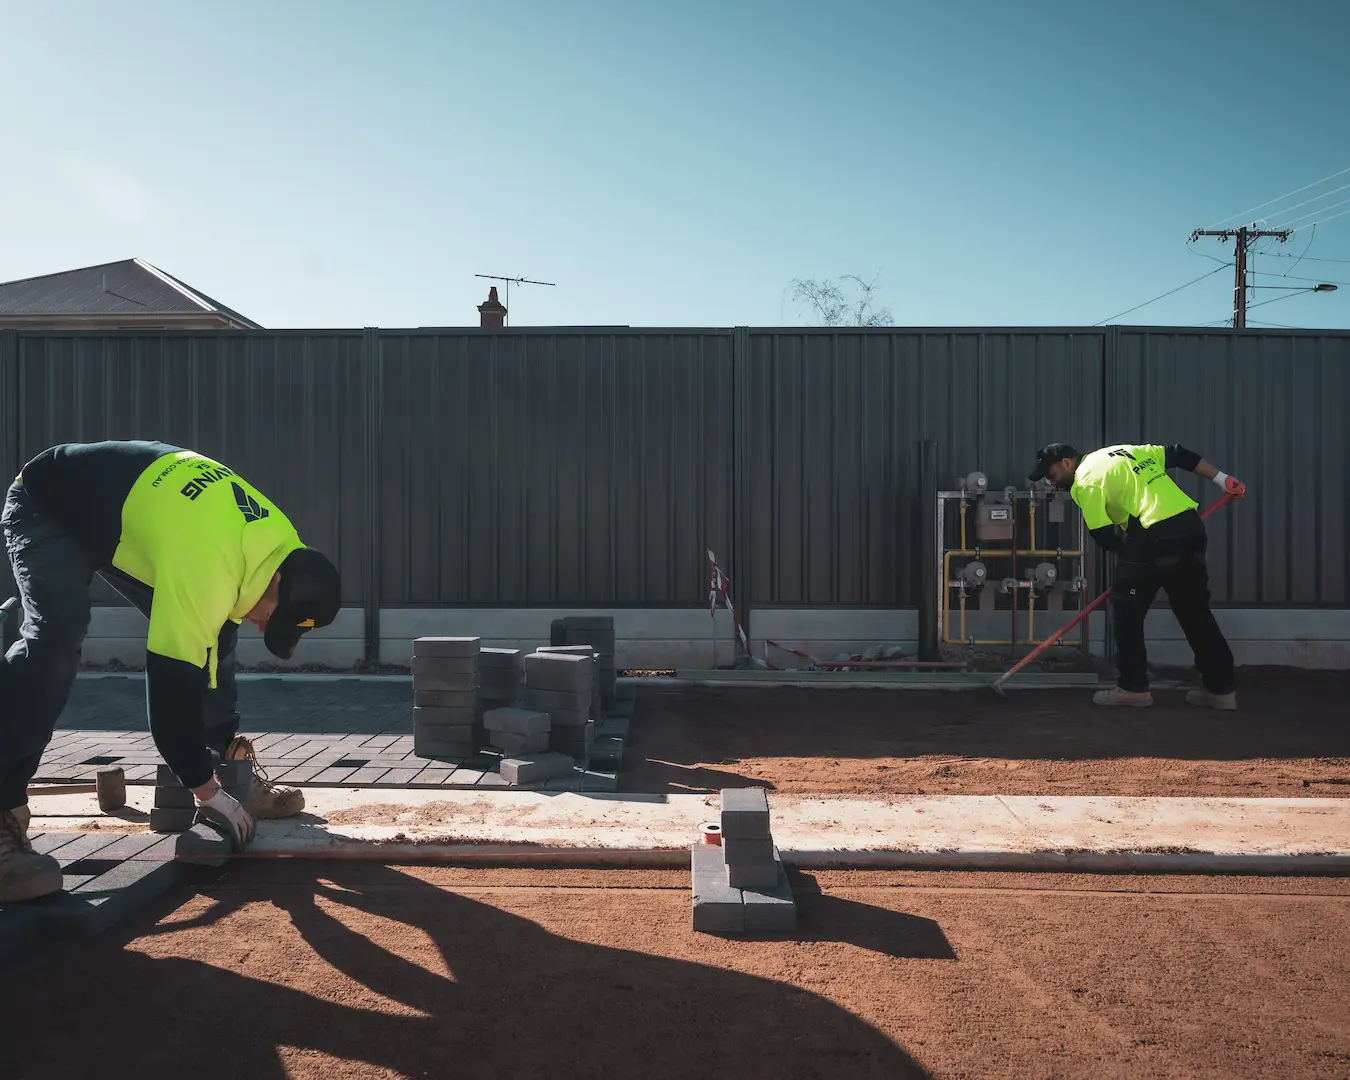
Placing the Pavers
To ensure the longevity and beauty of your driveway pavers, sealing is essential. It’s best to complete this process immediately after installation or at some point. If needed. This procedure helps keep their hues vivid and grants them longer life spans over time. To maintain these results, consider reapplying a sealant every few years as part of regular upkeep for the paving stones on your drive way.
Filling Joints and Compacting
To guarantee the stability of pavers and keep them from moving or slipping over time, a combination of concrete sand, binder and gelling agents called Pave Set must be applied to fill up any spaces between. When it comes to compacting, so that they stay firmly in their places without cracking or breaking at edges even when pressed hard against its base on the ground surface is completed through using an apparatus referred to as plate compactor having either carpeted bottom part made out rubber for refined outcomes with both sand and concrete blends making good support tools.
Sealing and Maintenance
Keeping driveway pavers in optimal condition requires the correct paving maintenance. An effective way to get this done is through cleaning with a paver cleaner and coarse-bristle broom, using the ‘paver straight’ technique for accurate alignment. Doing so every spring will ensure lasting beauty of your driveway over time. Sealing them periodically – around 3-5 years should be sufficient, seals out discolouration or weather damage while preserving its appearance and structural stability too.
Troubleshooting Common Issues
Installing pavers on your driveway is a great way to add aesthetic value, but some common difficulties can arise. These include unevenness caused by an insufficient foundation, staining from exposure or water damage, and weed growth due to poor drainage. With attentive maintenance such as regular cleaning and sealing along with inspecting the area, these issues should be kept in check for lasting beauty.
DIY vs. Professional Installation
When contemplating whether to do the driveway paver project yourself or employ a specialist, budgeting, time available and ability levels all need to be taken into account. DIY installation can provide cost savings, but more work is needed. While professional instalment will incur greater expenses, it guarantees quick completion of top quality. To determine which route suits your needs best, you should assess costs including labor plus consider complexity involved with the installation process then decide accordingly based on weighing up pros and cons.
Driveway Paver Patterns and Designs
If you want to add a distinctive look to your home’s exterior, then driveway pavers are the perfect choice for you. There are numerous paver patterns and designs available, such as herringbone, running bond stacked bond basket weave and pinwheel, so it is easy to find something that suits your unique style preferences. Hiring professionals who specialise in installation of these pavements can ensure they last long while looking great at all times.
When deciding on the colour of your paving stones, consider which shade complements or contrasts with both the house and roof hues best. There is an endless variety here too! By selecting appropriate driveways pavers for their property owners have been able to create stunning outdoor spaces full charm & charisma, along with increasing curb appeal significantly!
Cost Breakdown and Budgeting
When planning out a driveway paver project, it is important to consider the cost of materials such as road base material, jointing sand and bedding sand, edge restraints that require concrete, and most importantly – the pavers themselves. On average, these costs account for 33% of the total quote while labor takes up an equal share. Other fees like earthworks, dumping or debris removal might be necessary, which should also be accounted for in order to make sure you stay within your budget limits.
Taking into consideration all elements regarding paving projects will help guarantee success when choosing new driveways with Pavers!
Summary
Revamping your driveway with driveway pavers is a great way to enhance curb appeal while contributing positively to the environment. There are several steps in the installation process that need attention, from choosing and preparing the site correctly up until placing edge restraints and sand layer as base material for an appealing result which will last many years if maintained regularly including sealing issues when needed. Whether it’s DIY or hire a professional, this project offers both practicality plus eye-catching visual impacts of incredible value!
Frequently Asked Questions
How do you prepare ground for driveway pavers?
To ensure the successful installation of driveway pavers, begin by clearing away any debris from the ground and making sure it is dry. Spread a layer of either sand or gravel across its surface in an even fashion, sweeping into all gaps for stability. This foundation provides your paver driveway with optimal support necessary for correct instalment.
What is the best base for paver driveway?
The Interlocking Concrete Pavement Institute highly recommends washed concrete sand as the ideal base material for a paver driveway. Referred to as bedding sand, this type of coarse and moisture-free sand gives excellent support to your pavers so they can last for years while providing a secure and pleasing surface around your house.
Do pavers need concrete underneath?
The installation of pavers requires a concrete base to be laid down for best results. It will help keep the surface even and safe from wear or damage in different weather conditions. Placing this foundation correctly is essential for long-term protection against environmental factors too. It’s recommended that paving projects utilise concrete as part of their preparation process before installation begins properly.
Can you lay pavers directly on dirt?
If you want to lay pavers, it’s not recommended that they are directly placed on dirt. Preparing the ground and making sure it is level, excavated and properly compacted will give your installation long-term stability as well as an attractive appearance over time. All these steps need to be taken in order for your pavers to remain secure so that their quality stays intact for many years after laying them down.
How to lay pavers on sand?
To correctly install pavers on sand, the base must be prepared by compressing it to ensure stability. This includes laying down and filling in any crevices between the pavers with polymeric sand then moistening them for a full overnight cycle before use of a plate compactor to finalise their installation. Without this essential step, an accurate completion cannot be guaranteed – so ensuring your foundation is solidified is key!