Are you looking for an eye-catching and durable surface to add flair and interest to your garden? Look no than herringbone paving! In this blog post, we’ll provide a complete overview of what it is and how it’s installed, from the essential materials needed down to precise steps. We will also address any questions about professional installation versus DIY endeavours as well as advice on finding reputable installers in case assistance is desired. With knowledge of these basics combined with its timeless patterns, you’re sure to achieve success when embarking upon your project!
Key Takeaways
- This article provides an expert’s guide to herringbone paving, including its basics, benefits and essential materials/tools.
- Step-by-step instructions are provided for installing the paving correctly with tips on how to maintain alignment and handle challenges.
- The decision between DIY or hiring a professional requires evaluating one’s skillset, tools access and budget.
Understanding Herringbone Paving
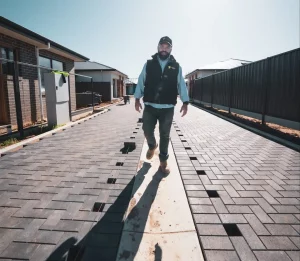
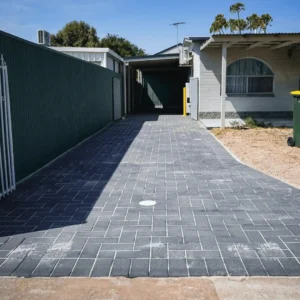
Herringbone paving is characterised by two main pattern designs. The 90° and 45° herringbone. These patterns are often used for driveways or other open-air surfaces to enhance aesthetic value while keeping them durable. The 90° design tends to be installed parallel or perpendicular to either a house’s pathway, whereas the 45° follows the primary direction of travel/driveway length.
It’s essential that both homeowners looking to develop their outdoor spaces as well as professionals striving for effectiveness get acquainted with fundamentals related to herringbone paving & its advantages, all discussed in detail throughout this text.
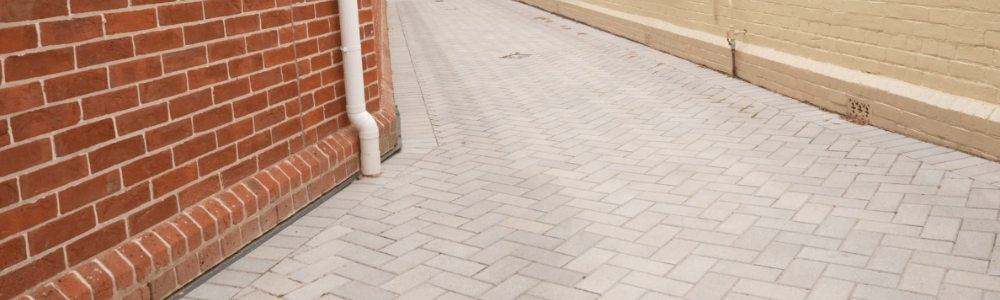
Herringbone Pattern Basics
Herringbone paving involves a pattern with rectangular pavers, laid in an attractive and resilient herringbone design. Ensuring correct alignment at the corners is key to achieving this look. Two lines are used for precision accuracy here. Materials required include brick pieces, sand and gravel along with using a line level tool. The final step of constructing the entire layout consists of cutting edges accordingly before finishing it off completely by adding some more sand on top to complete it all! Bear in mind that neatness and exactitude are crucial factors when trying to make your herringbone brick pattern long-lasting as well as aesthetically pleasing throughout its life span.
Benefits of Herringbone Paving
Herringbone paving is a widely favored choice for external projects due to its resilience. Provided the correct alignment and edge restraints are implemented, it can last far longer than other patterns of this type. Also important is that herringbone provides additional resistance from any form of shifting which could be encountered in layouts using running bonds instead. Not only does it offer reliability but also an elegant classic charm when set up correctly with attention paid to keeping lines inside within each pattern crisp and well defined. Resulting in improved value as well as overall aesthetics for any outdoor area visual appeal-wise.
Essential Materials and Tools for Herringbone Paving
The complexity of a herringbone paving project requires the use of specific materials and tools. To ensure an attractive, long-lasting finish, it is necessary to select suitable pavers for the job as well as prepare an appropriate base.
This article will focus on why selecting quality pavers matters and explain how to correctly lay down your foundation prior to beginning work with your chosen pattern. Such intricate designs can be achieved through preparation, patience, resources and knowledge. By choosing only high grade products, you’ll have assurance that their placement in a herringbone design won’t fall victim over time from insufficient material or neglectful installation practices.
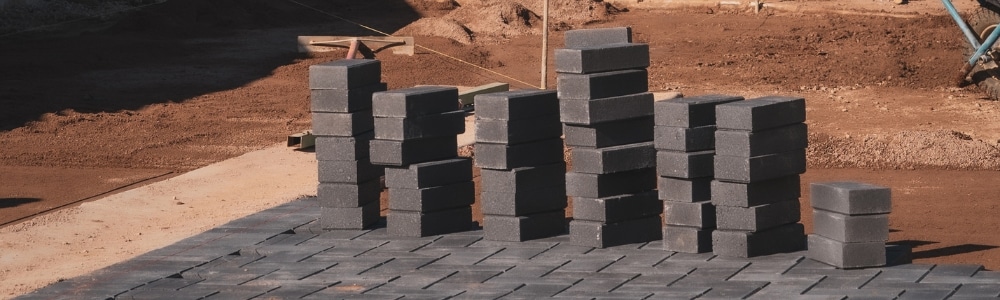
Choosing the Right Pavers
When designing herringbone paving, selecting suitable pavers requires consideration of factors like color, size and material. Rectangular blocks are usually the recommended choice due to their longevity for this type of pattern. Aesthetic is important, but also practicality in terms of durability matters too. Thus quality materials need a strong base underneath them for successful results.
Preparing the Base
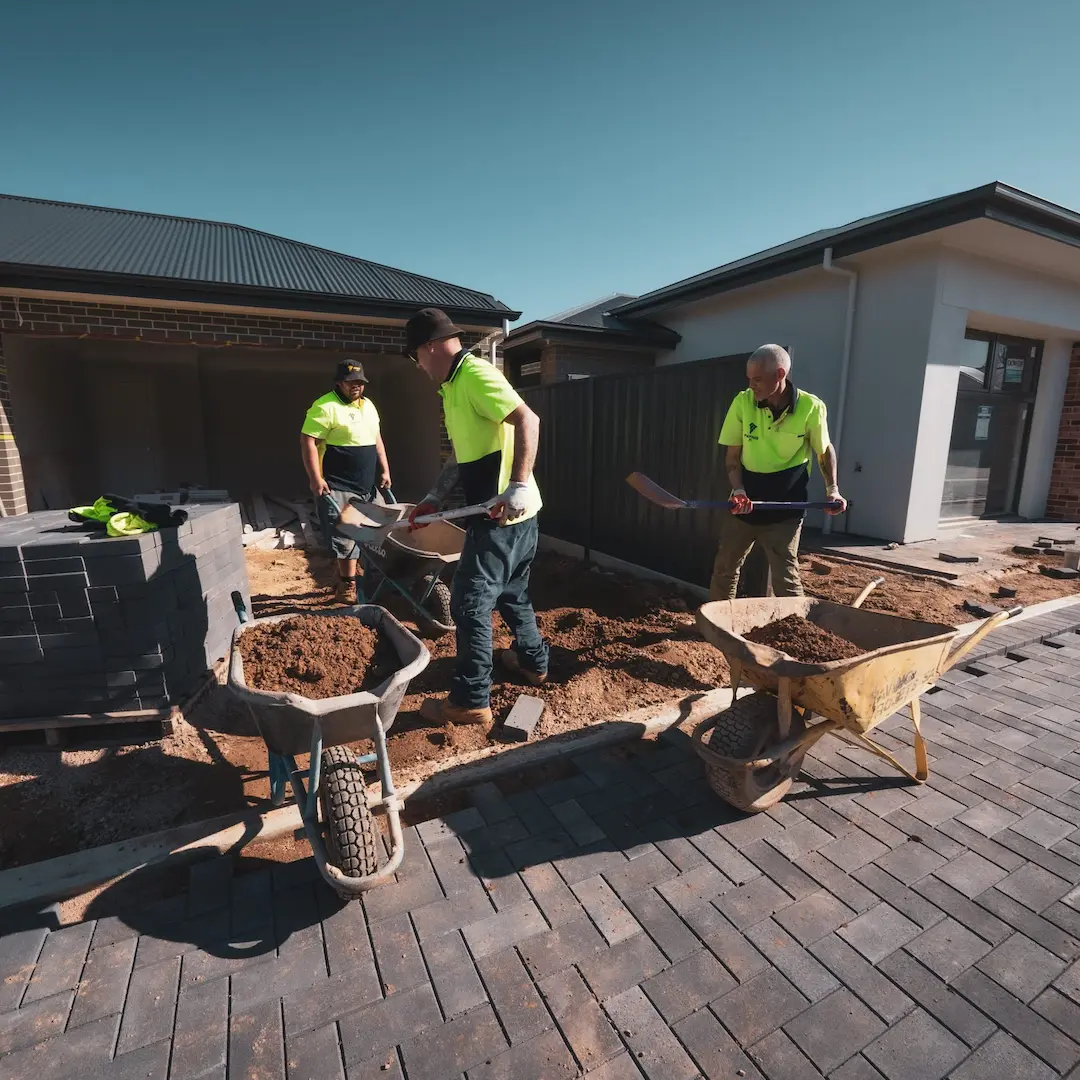
When building a herringbone paving surface, it is vital to lay down a solid and reliable base. To do this, you should dig the bed for the bricks at least 4 inches deep with either shovel or spade. Secondly, add crushed rock or gravel as your sub-base while making sure proper drainage exists by sloping away from houses/structures via plate compactor machine. Finally adding two inches of clean sand on top – creating an ideal layer for brick placement before beginning the herringbone laying process. All these measures are essential in ensuring a stable and enduring pavement that will last over time!
Step-by-Step Guide to Installing Herringbone Paving
The installation of herringbone paving requires skill and careful preparation. This guide will provide steps for setting the starter row, putting down other rows, as well as trimming bricks to create a smooth finish. Following these instructions correctly helps you produce an attractive and long-lasting surface which can improve your outdoor area’s appearance over time.
Meticulous attention is required during this process in order to have success when laying out the pavers into herringbone formation. Doing so with accuracy brings results that are sure to be satisfactory while creating an inviting atmosphere around it too!
Setting the Starter Row
Establishing the herringbone pattern for your paving project requires an accurate starter row. For this purpose, proceed as follows:
- Mark off a straight line to establish the angle of your desired herringbone design.
- Place nine bricks along that line so that both inside and outside corners are lined up with it properly — use a ruler or other measuring device if needed to ensure correctness here. Align them such that their leading edges all coincide with one another creating a continuous base-line.
3 centure sure each brick’s inner corner is opposite its outer corner across the line at exactly 90 degrees in order to give consistent results throughout every section.
With everything now set, move on to laying down Rows – not only within this building but others too – relying always upon these initial guidelines as reference points going forward into completion of your work!
Laying Subsequent Rows
Laying a herringbone pattern of pavers requires focus on consistency and aligning the rows. Start with placing your first row making sure it is even, then you must follow up by setting out each new line in an angled (vertically or diagonally) configuration that fits within the preceding one. When doing this, use a string/line to confirm all corners match correctly. Adjusting if needed for precision results. Continue until completion while preserving integrity of the layout, repeating same process as necessary throughout entire area being paved with herringbone paving stones.
Cutting Bricks for a Perfect Fit
If you want to create a herringbone paving surface with professional quality and finesse, cutting the bricks to perfection is necessary. Wear protection such as safety glasses and dust mask when utilising a wet saw fitted with diamond blade for the best results. Once all your tiles are cut accordingly, you can bring together an immaculate finish for this type of project.
Tips for a Successful Herringbone Paving Project
To achieve a successful herringbone paving project, proper planning and execution are key. Here we’ll give advice on maintaining the alignment of your pavement surface to ensure it looks attractive and is strong enough for lasting use, enhancing your outdoor area in the process. Our tips include best practices that will help make sure you get the most out of this type of construction work over time.
Maintaining Alignment
Maintaining alignment for a herringbone paving project is essential in regards to looks and stability. To keep the blocks accurately lined up, utilise a pinch-bar when setting them down. Also use a trowel to adjust any laid pavers as needed so that your overall surface appears even from end to end. By keeping everything aligned throughout this process, you can help ensure the lasting beauty and quality of your finished product.
Handling Challenges and Complications
Herringbone paving projects can be subject to numerous complications, so it’s important to ensure you’re adequately prepared. An uneven base or incorrectly measured tiles are just some of the issues that may arise during the process. They can easily overcome with a few steps taken beforehand. First, use either levelling systems or rubber mallets in order for all your tiles to fit flush and even against one another. Secondly, carefully plan out measurements and layouts before laying down materials as this will help minimise wastage as well as save on resources needed to carry out the job effectively. Lastly, make sure there is adequate drainage by sloping away from any structure nearby such as buildings etc. This approach will provide additional longevity when handling herringbone pavement tasks.
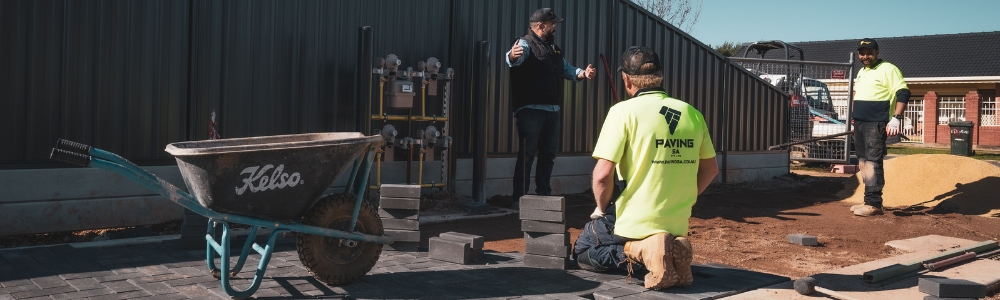
Hiring a Professional vs. DIY Herringbone Paving
Weighing the pros and cons of doing a herringbone paving project yourself versus getting professional help is something worth considering. In this article, we’ll share some tips to assist you in evaluating your skill level and connecting with a reliable paving contractor should you decide to go that route. Paving Adelaide surfaces is something the team at Paving SA has been excelling for over 20+ years! Schedule a free quote with us today!
By taking into account various factors such as budget, access to tools, and DIY capacity. It’s easier for people to make informed decisions about their outdoor space renovations – allowing them to achieve the ideal outcome they have envisioned!
Evaluating Your DIY Readiness
Determining if you have the capabilities to DIY a herringbone paving project requires an assessment of your experience, resources and dedication. To assess this capability, take into account how familiar you are with materials and tools, as well as having precise measurements for space allocation in mind. If one is confident in their skillset along with allotting adequate time towards completing such a task, then they can potentially save money while creating a personalised outdoor area through self-execution.
Finding a Reputable Installer
Finding a reputable professional for your herringbone paving installation is of utmost importance, so do the research necessary to ensure that you’re confident in their skills. Make sure they have experience working with this type of project and ask them to provide references as well. After comparing prices and services offered, select the installer whose offer best matches up with what you are looking for from your completed project. Taking these steps can help guarantee an attractive result!
Summary
This article has given a comprehensive overview of herringbone paving, from the main characteristics to all essential tools and techniques necessary for successful installation. With this in mind, you can create an attractive outdoor space that will not only add value to your home but also provide years of use with its durable surface.
Whether professional help is sought or taking on a do-it-yourself project, the timeless beauty of herringbone style makes it worth investing in. We hope these guidelines have supplied you with enough knowledge and enthusiasm for transforming any external area into something amazing!
Frequently Asked Questions
What is the difference between the 90° and 45° herringbone patterns?
The herringbone pattern is placed in a parallel or perpendicular direction to the main direction of travel, and then laid along the principal trajectory of traffic at 45°. Both 90° and 45° paving patterns are designed with this same purpose.
How do I maintain alignment while installing herringbone paving?
For perfect accuracy, use a pinch-bar to place the blocks correctly and employ a trowel for Adjustment of pavers. Checking with a level too will be helpful in order to keep everything even and make adjustments if needed.
What materials and tools do I need for a herringbone paving project?
When constructing a herringbone pattern with pavers, it’s essential to have rectangular shaped ones along with sand and gravel. Other items like line level should also be included in order for the project to run smoothly. Don’t forget that you’ll need other tools used during regular paving installations too!
How do I properly cut bricks for a perfect fit in my herringbone paving project?
For your herringbone paving project to have a professional finish, it is essential that you use a diamond blade wet saw for an accurate cut. Remember to wear protective eyewear and respirator when carrying out this operation. Your safety should be paramount during any cutting process!
How can I find a reputable installer for my herringbone paving project?
Take the necessary steps to research businesses close-by, gather comments from people who have used them before, compare costs and inquire about how knowledgeable installers are as well as their credentials in order for you to locate a trustworthy installer for your herringbone paving task.
Doing proper preparation will ensure that you end up with quality workmanship and materials when it comes to this project.